Flint 3e GL-BE6500
YPNGO has passed hardware tests for routing, relay fallback, and reconnecting after reboot on this model. The customer install package still needs release testing, so this setup flow is not available yet.
 THE ROUTER GUIDETroubleshooting
YPNGO FOR GL.iNET ROUTERS
Install the YPNGO client, sign in, and connect your router to a YPNGO device.
Start setupREQUIREMENTS
Required for setup:
A router listed belowConnected to the internet, with its admin password handy.
Your YPNGO account & email inboxYou’ll receive a six-digit sign-in code.
An online YPNGO deviceAlready claimed by your account and ready to connect.
Choose your exact model to see its setup availability. Screenshots show Beryl AX.
YPNGO has passed hardware tests for routing, relay fallback, and reconnecting after reboot on this model. The customer install package still needs release testing, so this setup flow is not available yet.
Model-specific packages are available for GL-AX1800, GL-MT6000, and GL-BE9300. We checked their stock firmware, architecture, and dependencies. Physical installation and VPN operation remain untested. Choose your exact model above for its source and package.
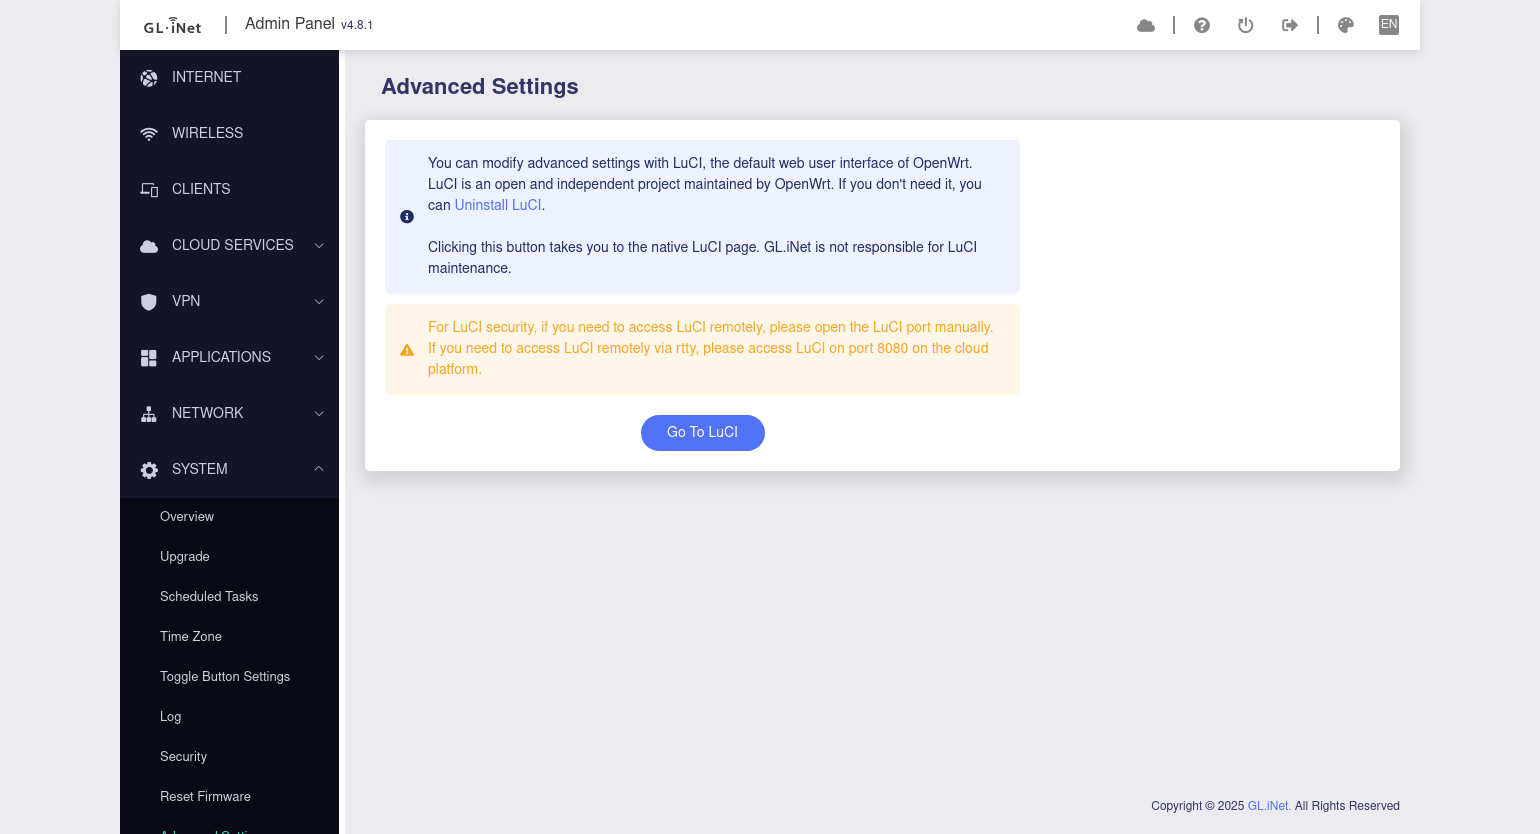
First open System → Advanced Settings and use GL.iNet’s Install button to initialize LuCI. This installs the firmware-matched interface that YPNGO needs. Then follow the steps below. Use stock GL.iNet firmware; alternative OpenWrt firmware is outside these package profiles.
Use only the package made for your exact router. Flint 1, Flint 2, Flint 3e, and Flint 3 are different models; their packages are not interchangeable.
STEP 01
Connect your phone or computer to your GL.iNet router’s Wi-Fi or a LAN port. Open 192.168.8.1 ↗ in your browser and sign in with your router admin password.
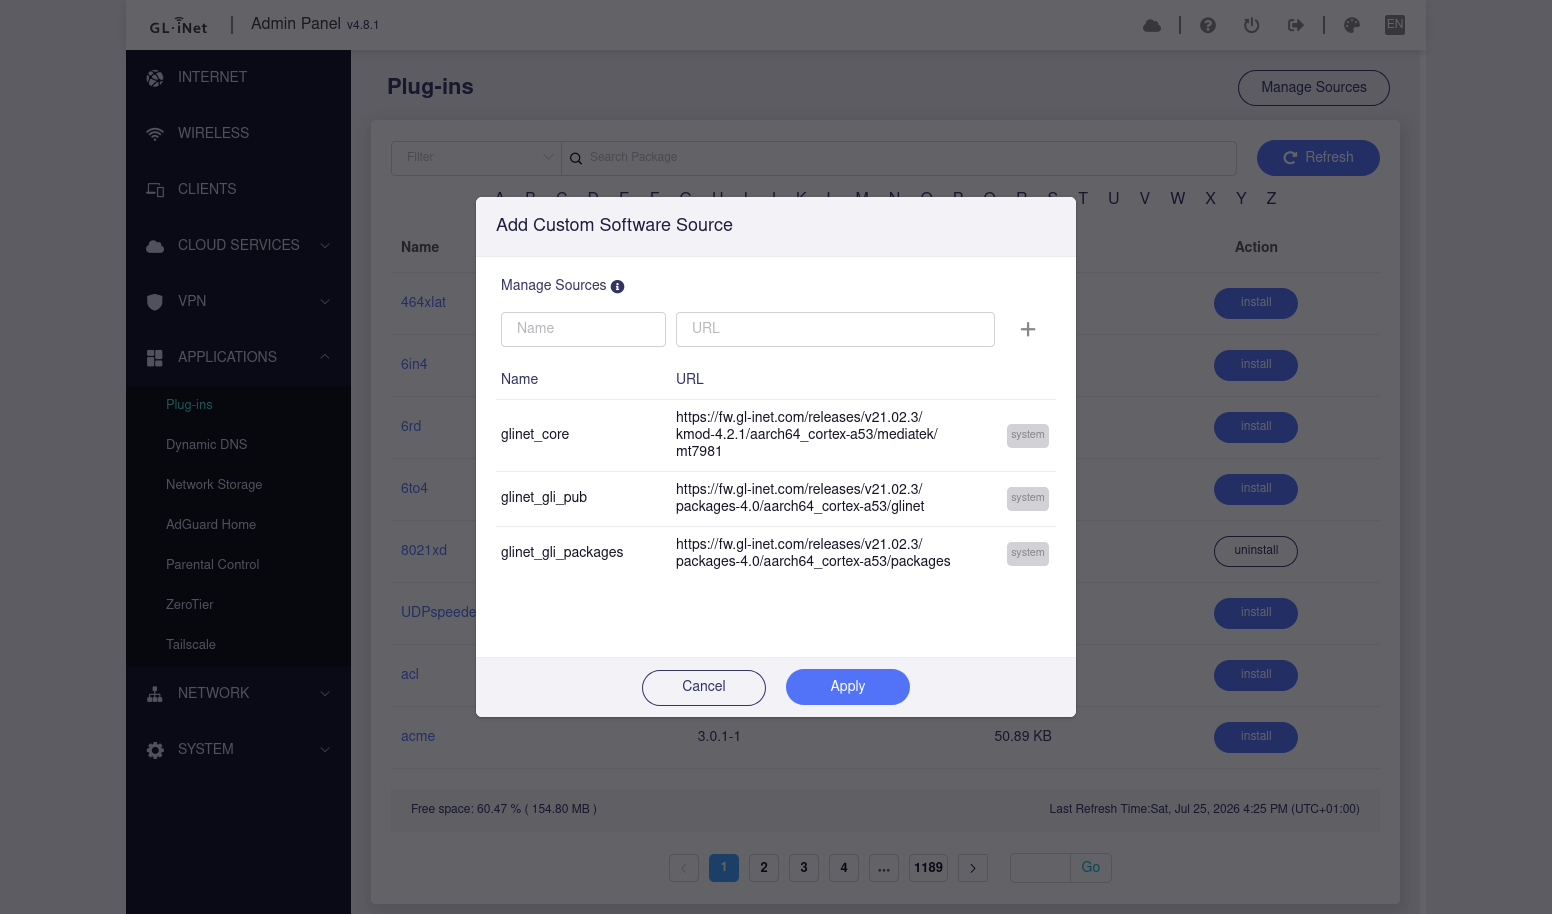
If this is a new router, finish its initial setup first. Make sure you can browse the internet, then open Applications → Plug-ins → Manage Sources.
STEP 02
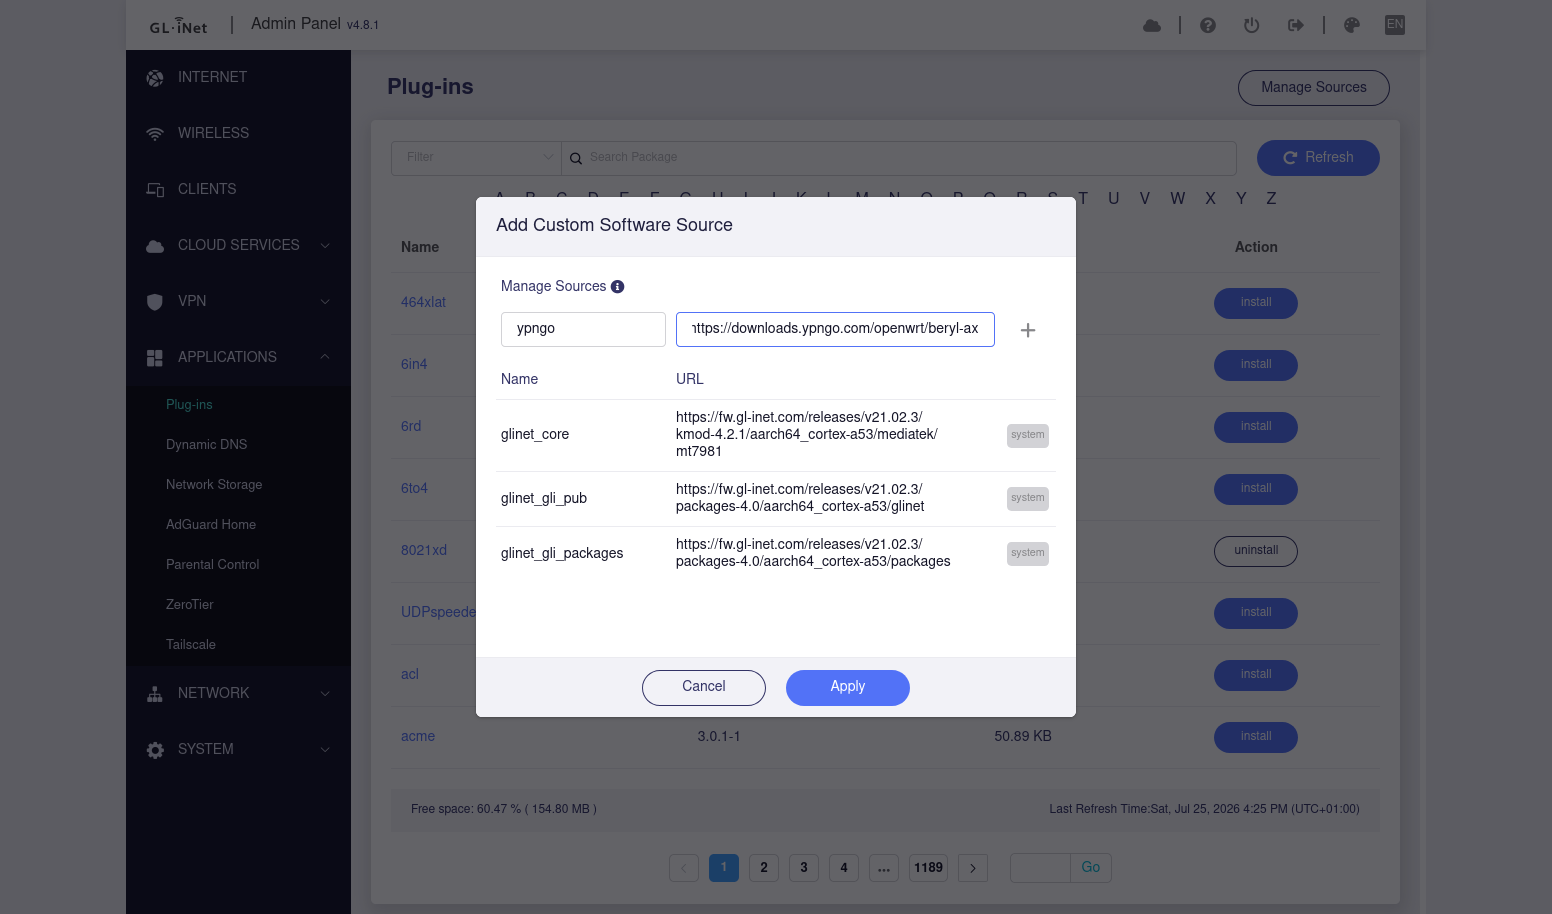
Enter the name and URL below. These values are for Beryl AX; use the router selector above if you have a different model.
ypngo
https://downloads.ypngo.com/openwrt/beryl-ax
Click the + beside the URL to add it, then choose Apply. Close the dialog and click Refresh on the Plug-ins page.
STEP 03
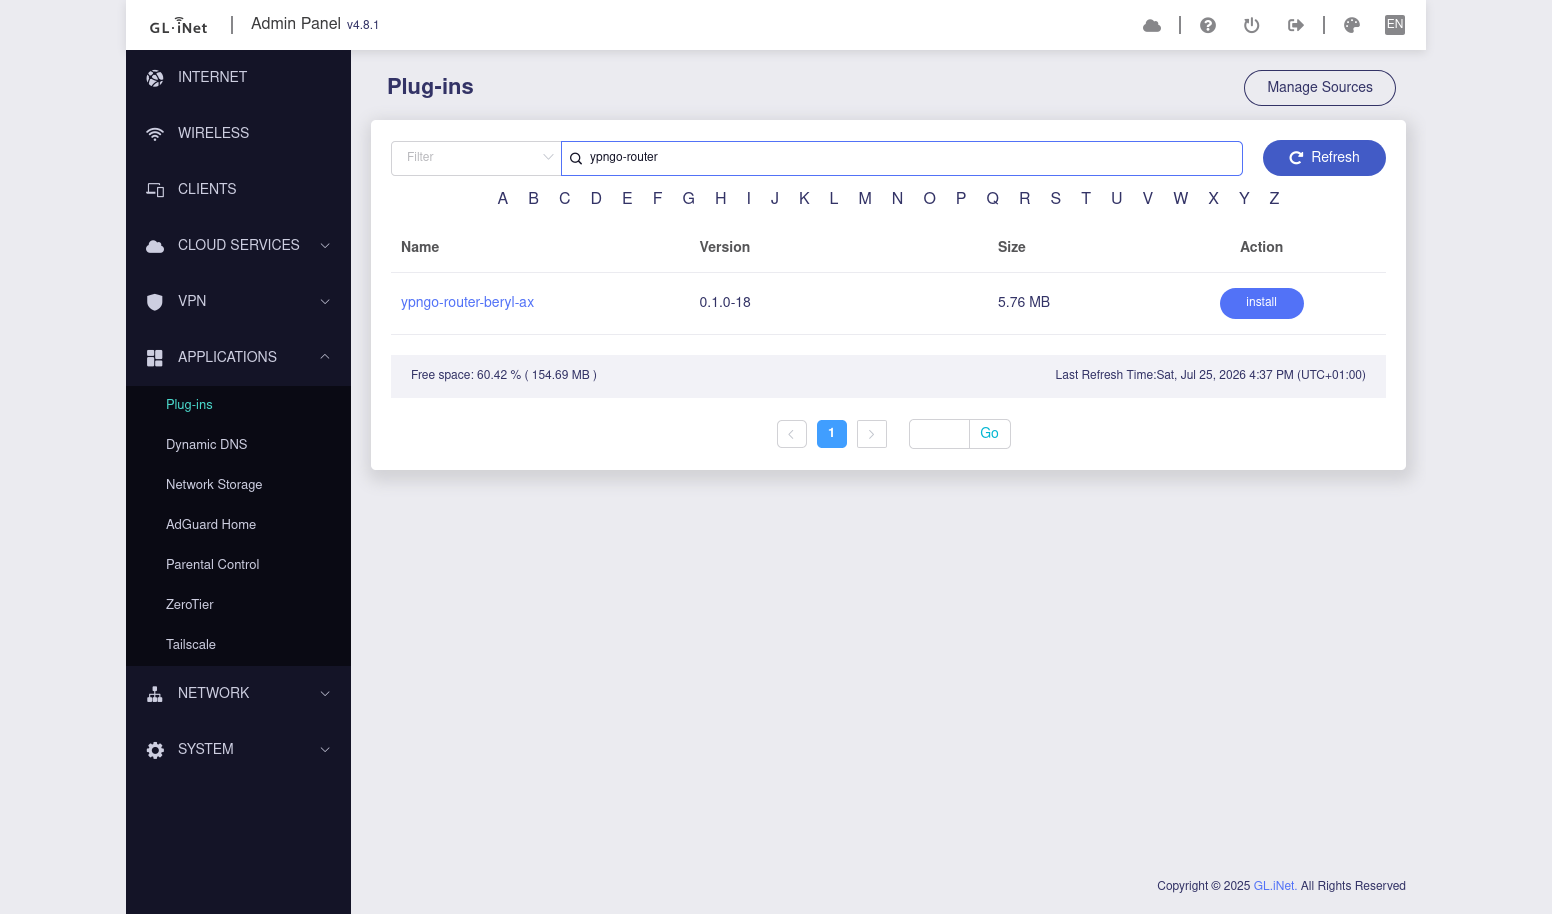
Search the Plug-ins list for ypngo-router. Find the
package below and click Install.
ypngo-router-beryl-ax
Wait for installation to finish. When its button changes to Uninstall, the package is installed. It includes the YPNGO client and setup page.
STEP 04
STEP 05
STEP 06
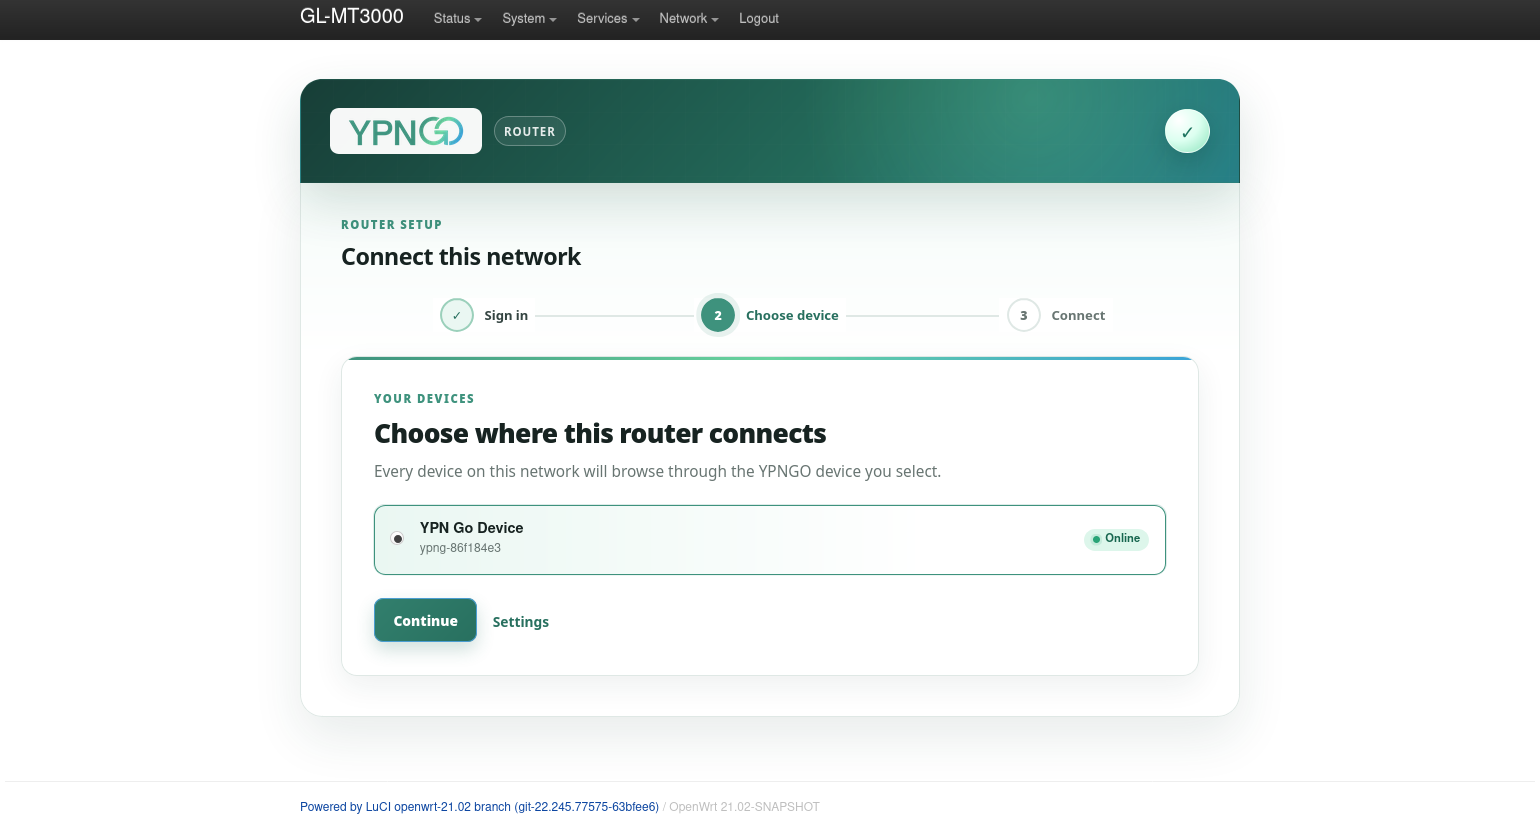
Select the YPNGO device you want this router to connect to, then click Continue. Choose a device marked Online.
Devices using this router’s network will browse through the YPNGO device you select. It needs to be powered on, connected to the internet, and claimed by your account.
STEP 07
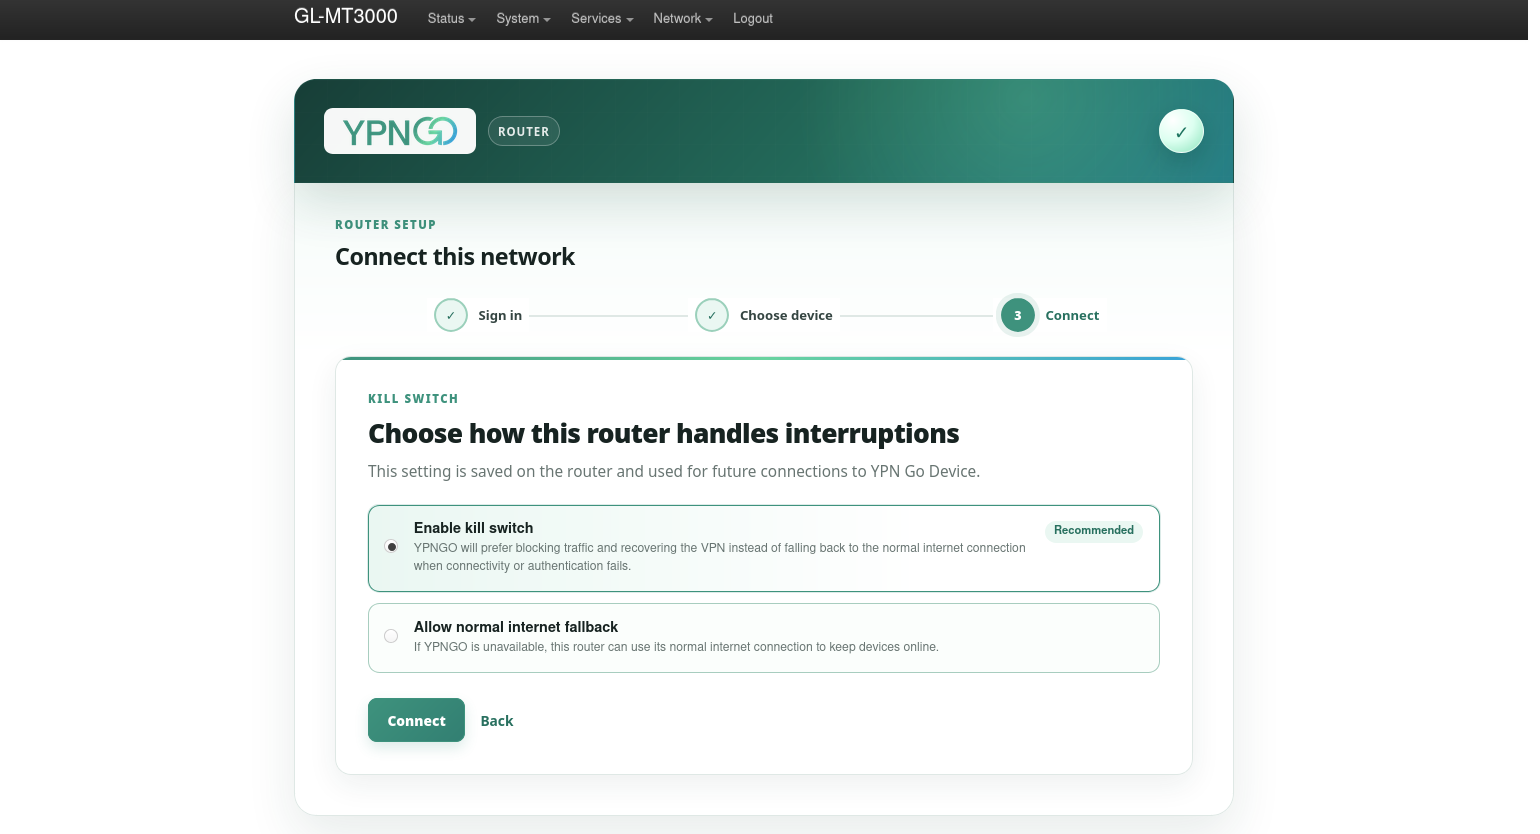
Choose how the router should handle interruptions, then click Connect.
Blocks traffic while YPNGO recovers the VPN connection. Your internet may pause during an interruption.
Keeps devices online using the router’s normal internet connection when YPNGO is unavailable. That traffic won’t go through YPNGO.
Wait for the connection to complete. The router saves this preference for future connections.
STEP 08
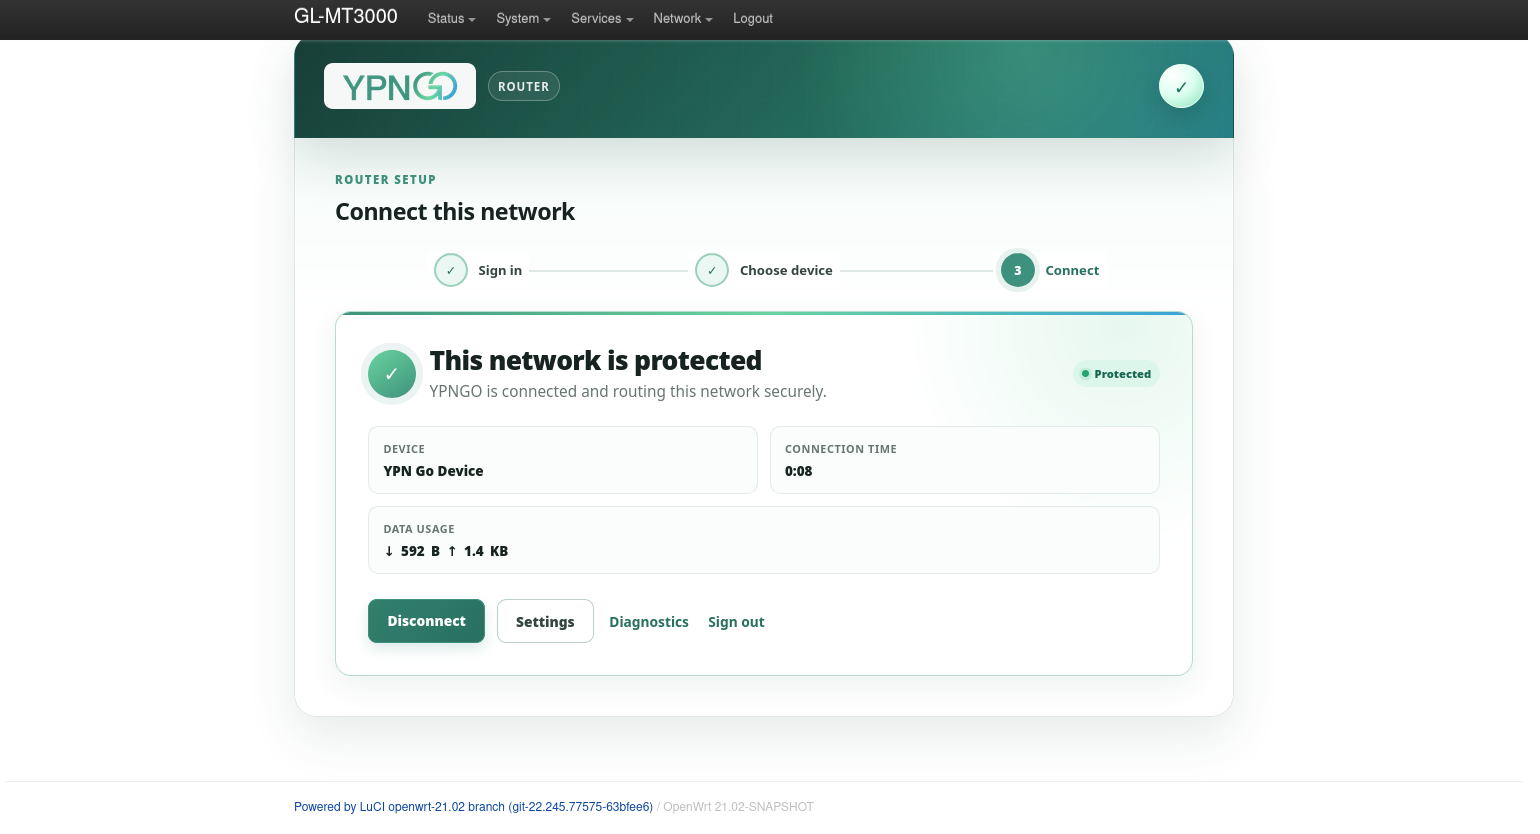
Look for “This network is protected” and the green Protected badge. Open a website on a phone or computer connected to the router to check that you can browse.
The router reconnects automatically after a reboot. You can return to Services → YPNGO to see status, change settings, or disconnect.
SUPPORT
Check the following if setup fails.
Make sure your phone or computer is connected to this router’s Wi-Fi or LAN. Open http://192.168.8.1 directly in the address bar. If you changed the router’s LAN address, use that address instead.
Check that the router can access the internet. Confirm you added
the source for your exact router model, clicked the + button and
Apply, then refreshed the list. Search for
ypngo-router again. If your connection is slow, let
each operation finish before retrying. An Uninstall button means
the package is already installed.
Confirm the YPNGO package is installed. Go to
System → Advanced Settings → Go To LuCI, sign
in with username root and your router admin
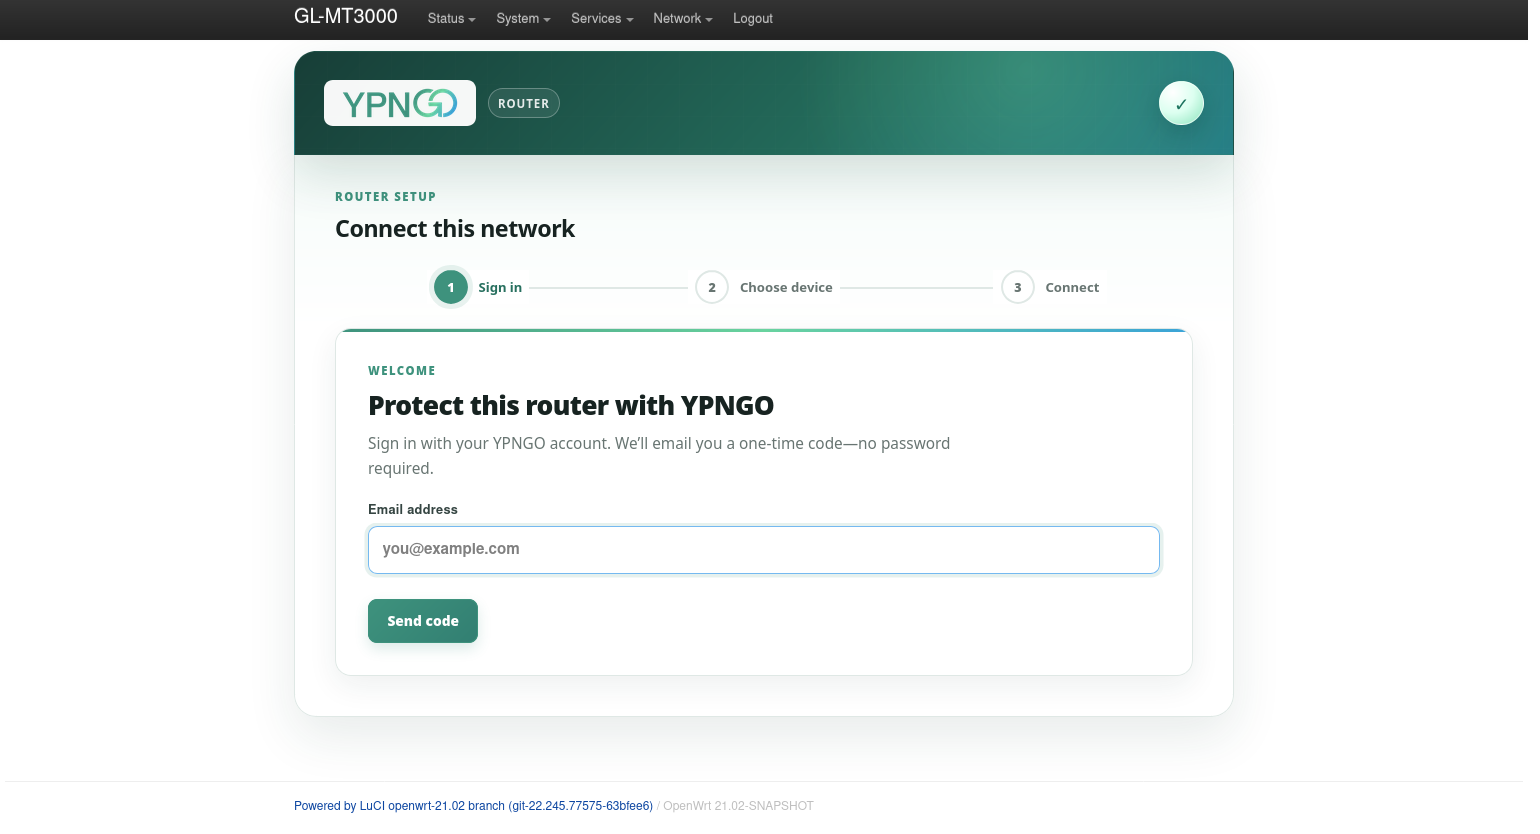
password, and choose Services → YPNGO.
Check your spam folder and the email address you entered. Wait a little on a slow connection. If you request another code, use the newest one.
Use the YPNGO account that owns the device. If it hasn’t been claimed yet, claim it in the YPNGO app first. If it appears offline, make sure the YPNGO device is powered on and connected to the internet.
Check that the router has an internet connection and your selected YPNGO device is online. With the kill switch enabled, traffic can pause while YPNGO reconnects. You can review your preference in Settings; normal internet fallback allows browsing outside YPNGO when the VPN is unavailable. If the problem persists, open Diagnostics on the YPNGO page for connection details.